DIY Before & After – Upcycled Tea Cart
We are t minus 25 days away from a vintage and rustic fall wedding in Santa Cruz that we’ve been planning and crafting away for and are oh so excited about. We’ve got lots up our sleeve for the big day and we can’t wait to see it all come together!
As we’ve planned and pinned away, we got our sights set on a vintage drink cart to add to the event’s vintage decor. After doing a little research, we realized that most carts like this, this and this were well over our budget (upwards of $300!) so we did what any crafty duo would do – we turned to Craigslist.
I think the vintage cart gods were on our side – within minutes of searching we came across this gem for only $40 and it was conveniently close to us. Sold. While it’s definitely fine in it’s original form, we knew we could spruce it up and make it much more unique with a little DIY TLC. Our plan was to add a little color and replace the glass shelves with something a bit more durable and decided on something to the effect of salvaged wood planks. We needed the wood to be uniform and had a hard time finding existing reclaimed wood so in the end we just made it ourselves and couldn’t be happier with the outcome.
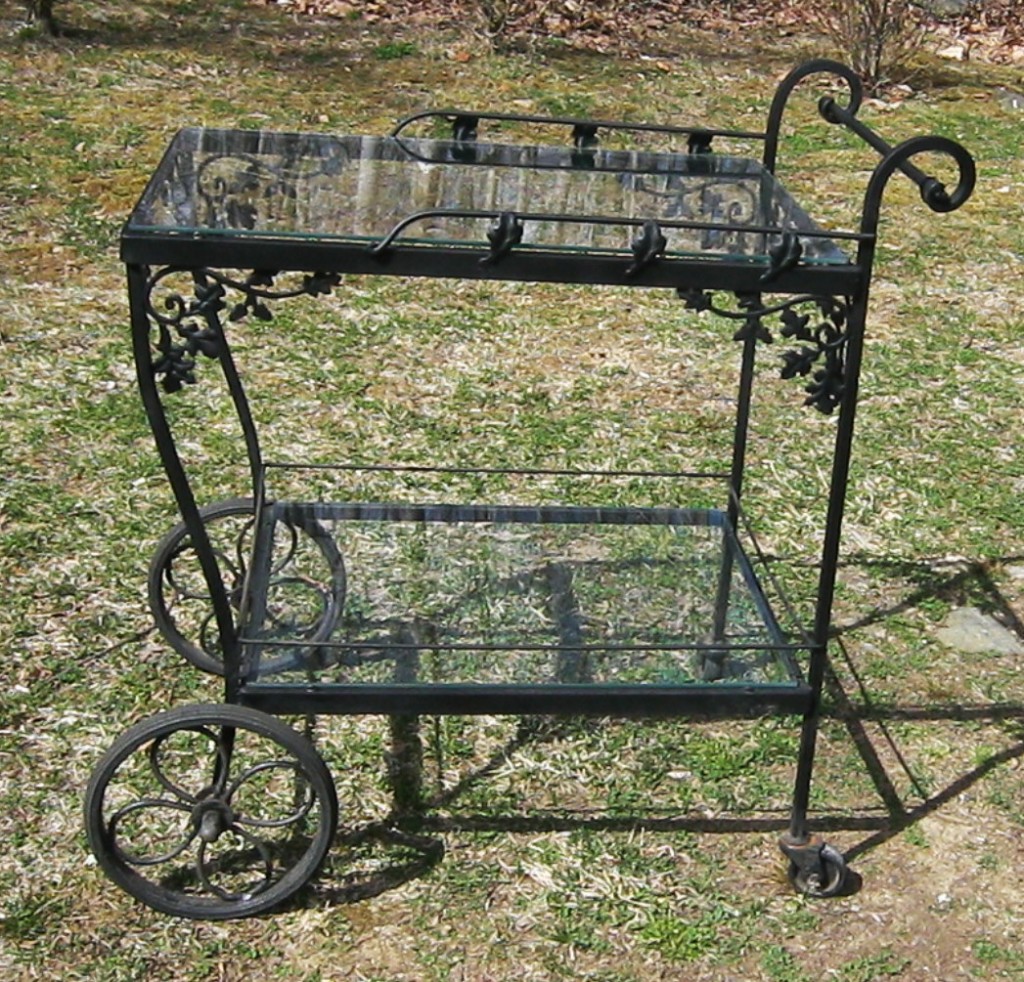
The BEFORE – our $40 Craigslist find.
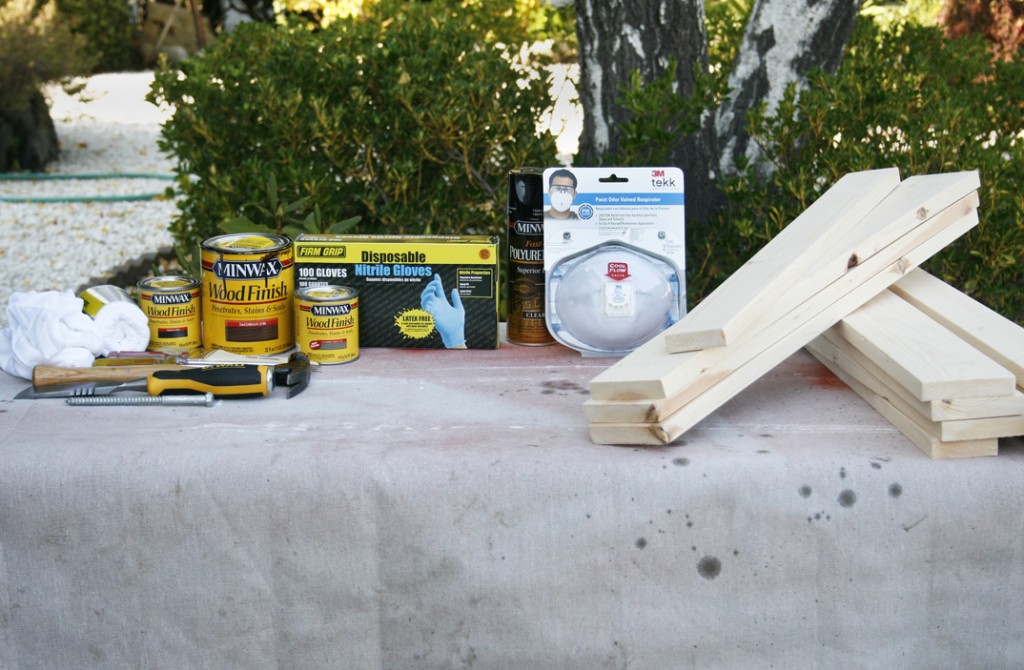
Materials:
– Miniwax stains (we used jacobean, classic gray and espresso)
– Nonlint painting cloths, breathing mask and gloves
– Satin and semi-gloss spray-on polyurethane
– Hammer, chisel, 6 in threaded 5/16 in lag screw and flat head screwdriver
– Plenty of finely sanded pine wood
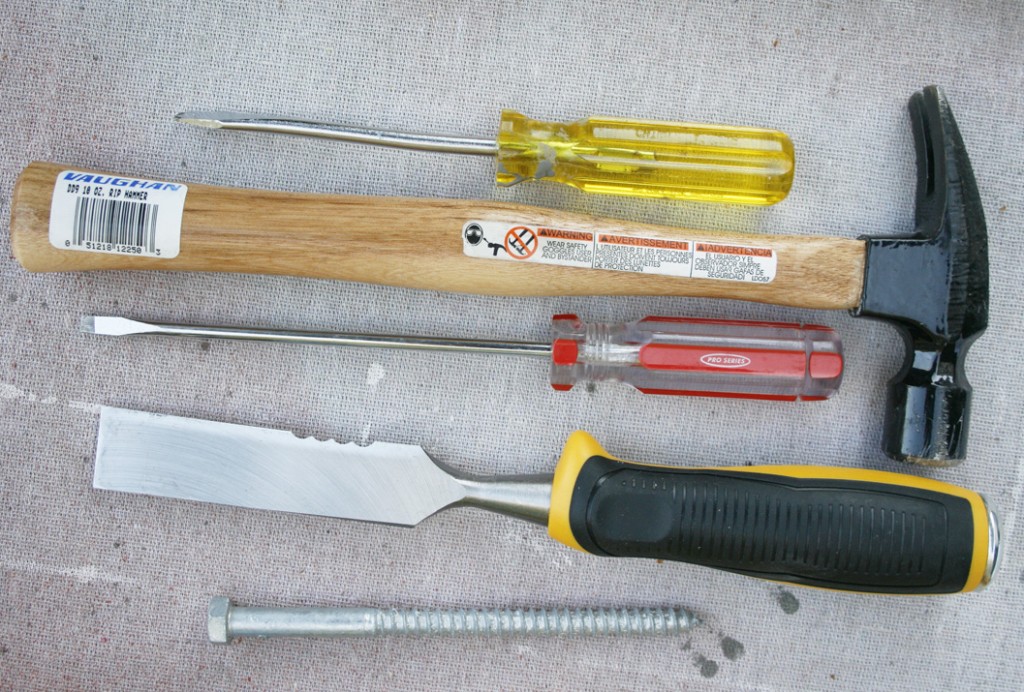
Once the wood was cut to fit our cart and finely sanded with 220 then 400 grit sand paper, we began the weathering process to age the wood (thanks to the tutorial from one of our favorite blog duos www.younghouselove.com!). There wasn’t an exact science to creating dents, wormholes and cracks other than to not to over do it. We found that adding cracks gave the wood the most character when we made them varying thicknesses along the grain of the wood. Below are some images of the different tools we used and how they added character.
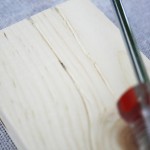
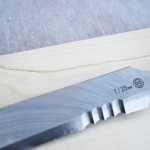
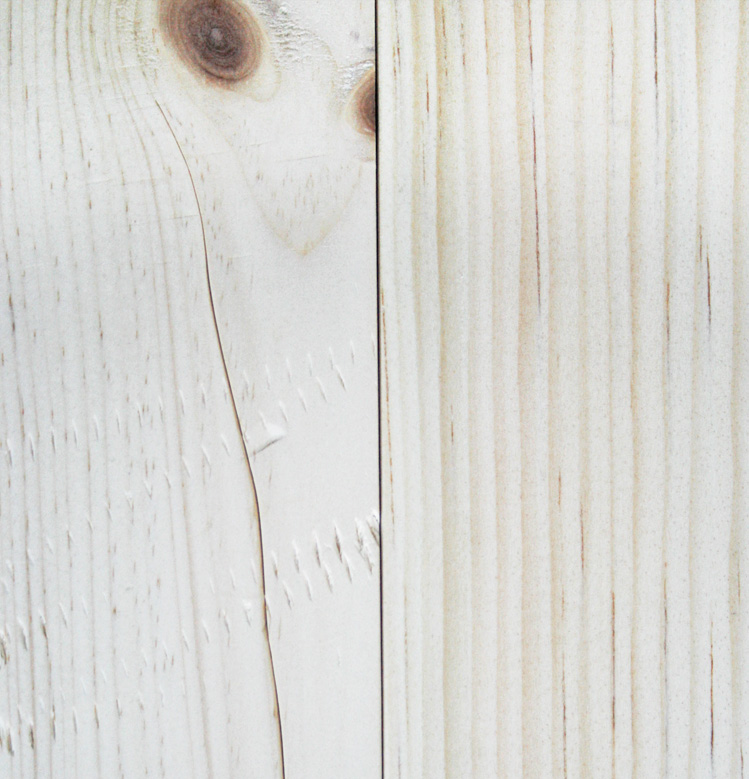
Above is a before and after (right to left) of a board with a crack and some screw thread dents next to an untouched piece. Definitely a difference, but the magic didn’t really start until we began the staining process.
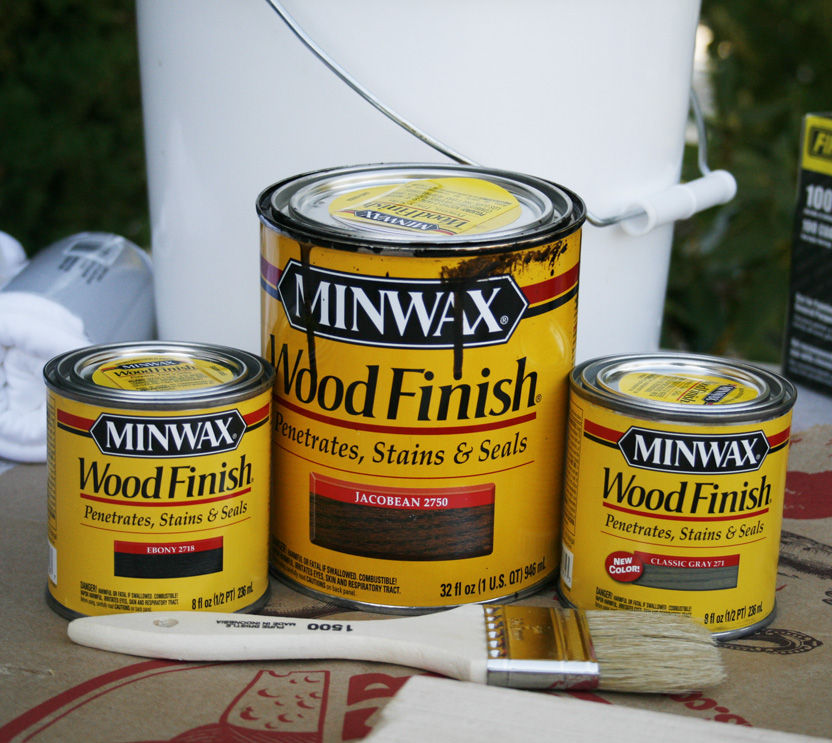
The process we followed when staining wasn’t the same for each board, because we didn’t want all of them to look the same. For example, with one board we wet it first, wiped off the water, coated it with the jacobean stain, wiped off the stain to lighten it a bit, coated it with the classic gray stain, then wiped it off and let it dry out. The image below is the first step with a different board where we never wet it, coated it with classic gray and then wiped off the stain.
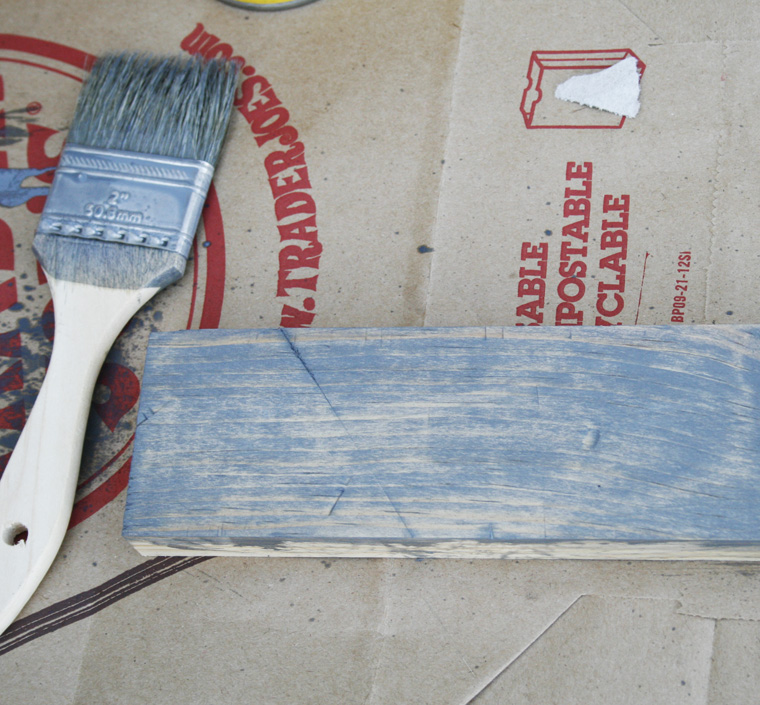
We found wetting the wood before each coat would make the boards less absorbant and stain lighter, and when we didn’t wet it the stain was darker. Sometimes we wet and stained a piece of wood multiple times until the coloring was just right. It should also be noted, the jacobean and ebony stains really soaked into the cracks and dents we made and really helped them stand out. We couldn’t have been happier with the results and couldn’t believe how we were able to transform plain old pine to something with so much character. Check out the before and after below.

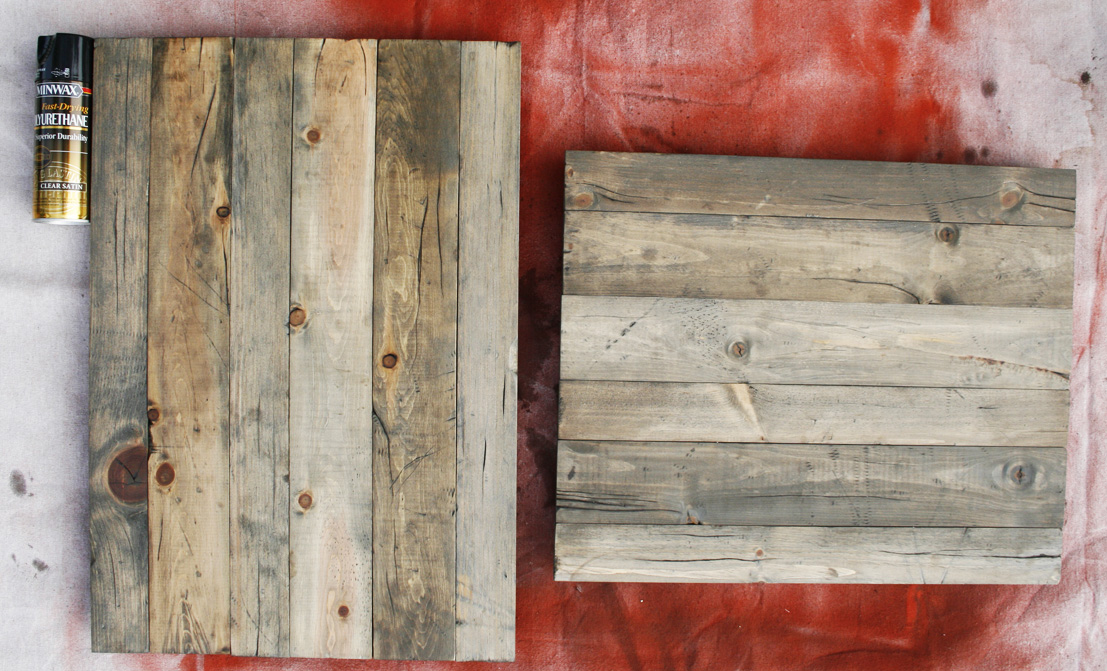
The next step in the process took nearly as long as the first. We coated the wood with a satin polyurethane (2 coats), waited for it to dry for 48 hours, sanded it with 400 grit sand paper (being careful not to take any of the stain off), applied 2 more coats of semi-gloss polyurethane and wet sanded it to a polish. Above, can you tell the board on the left went through this process and the board on the right didn’t?
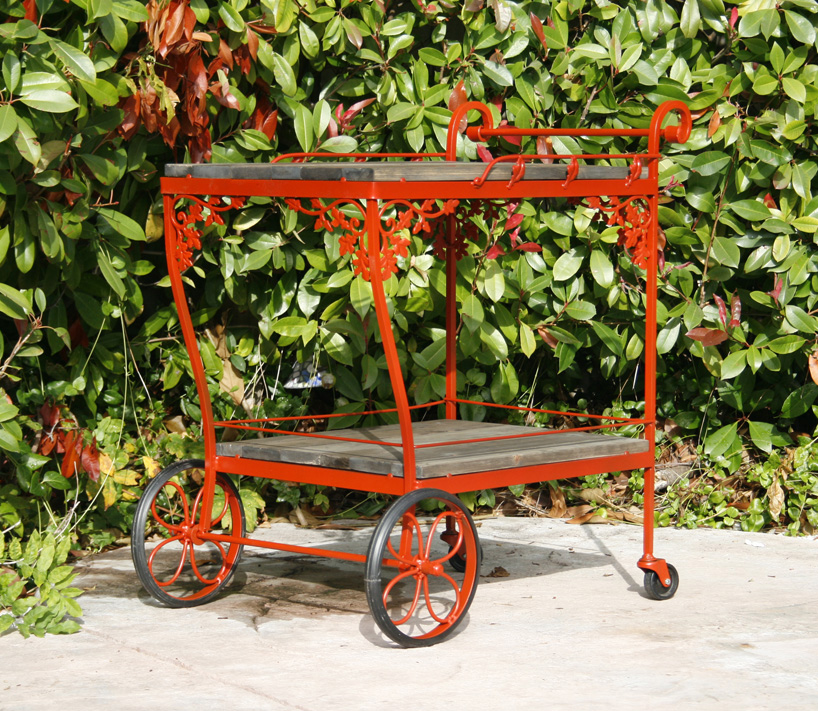
And here you have the final result! So much of a difference, right?
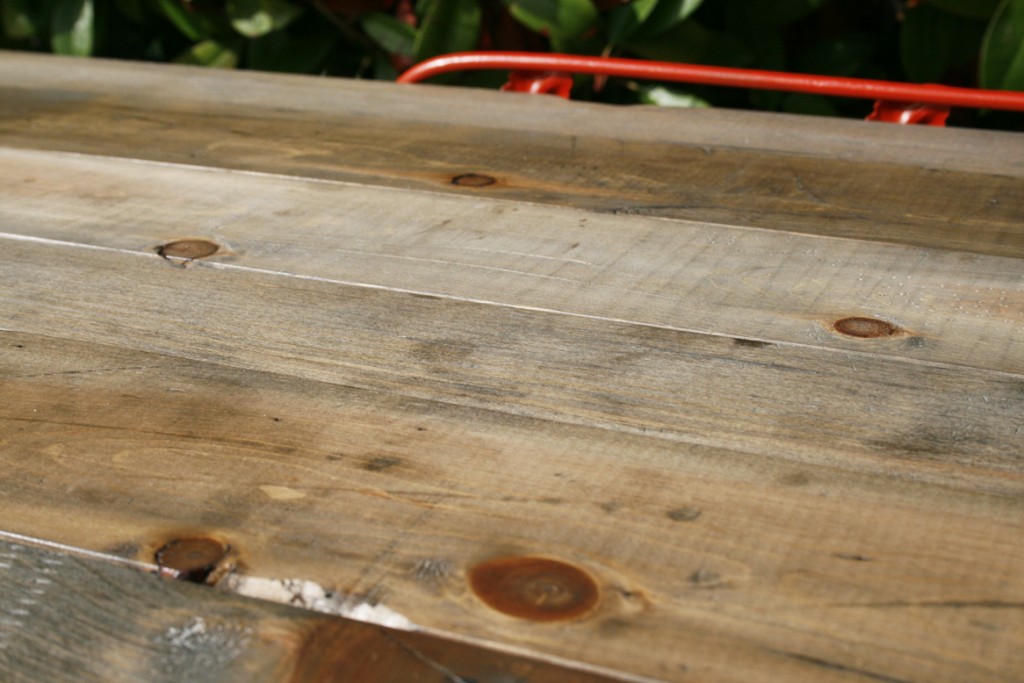
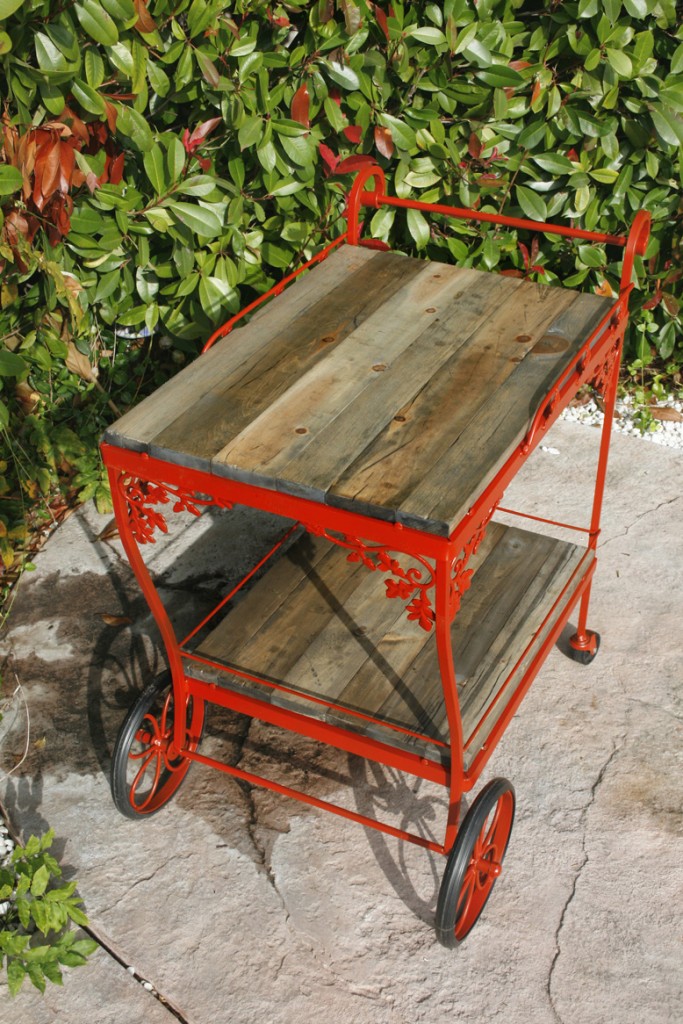
Stay tuned to see how we use it in our upcoming event. Oh and here’s another good before and after shot for you so you don’t have to scroll all the way up to the top to see the difference.

BEFORE
AFTER