DIY Ombre Bags
Umm…can anybody else believe it’s DECEMBER ALREADY?! This year has seriously flown by. In the midst of holiday decorating and Christmas shopping, we’ve also been getting our DIY on to get prepped for next year’s events. This past weekend we worked on some really fun ombre favor bags that we just had to share.
Materials:
- Muslin bags
- RIT dye
- Salt
- Hot water
- Dowels
- String
- Change

How we did it:
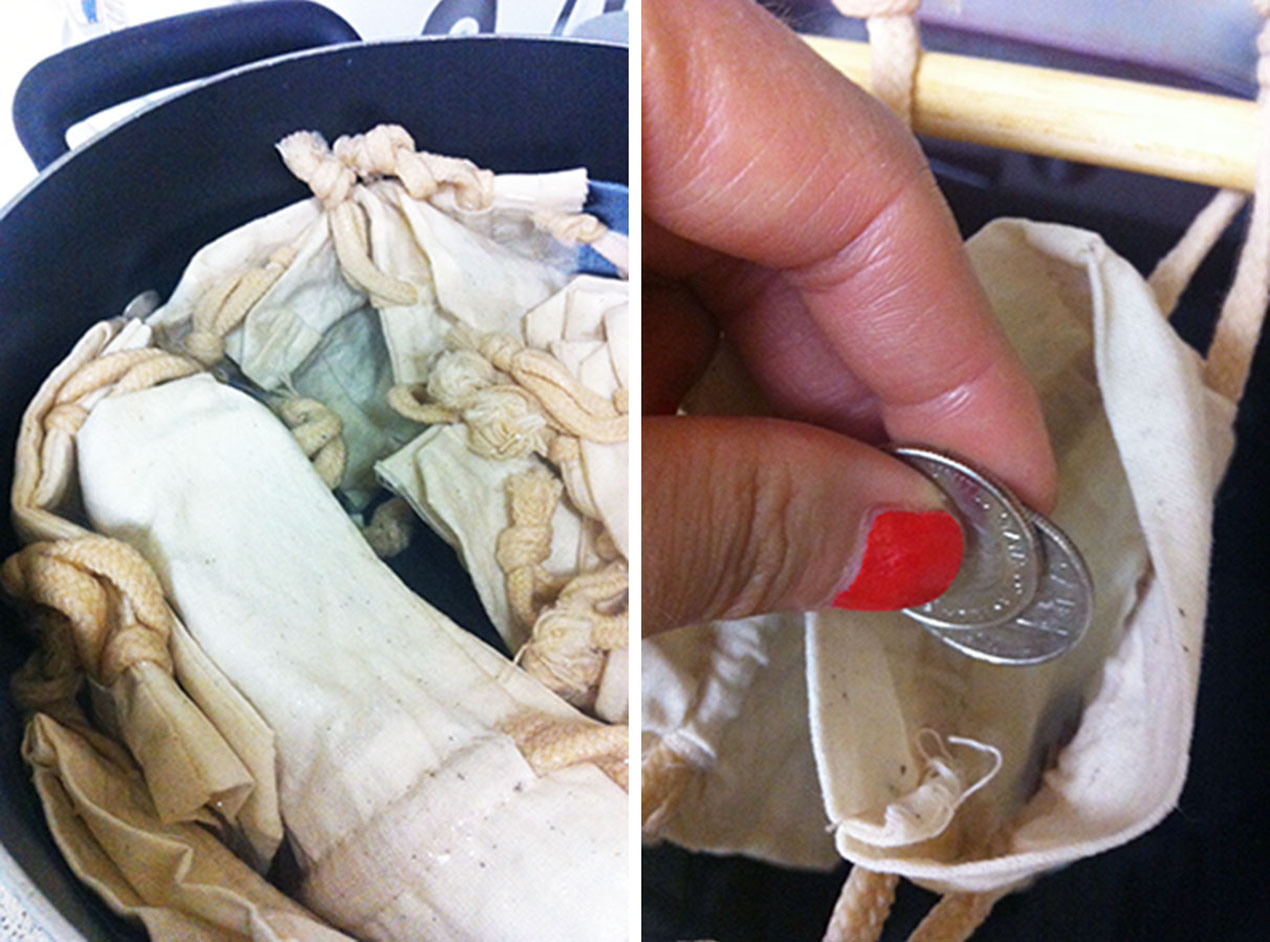
First, we soaked the bags in hot water. We made sure they were completely wet to help the dye look more organic and painterly (is that a word or did we just make that up?). Then we put change in the bags to make sure they didn’t float on top of the dye bath once we soaked them in our lovely dye.

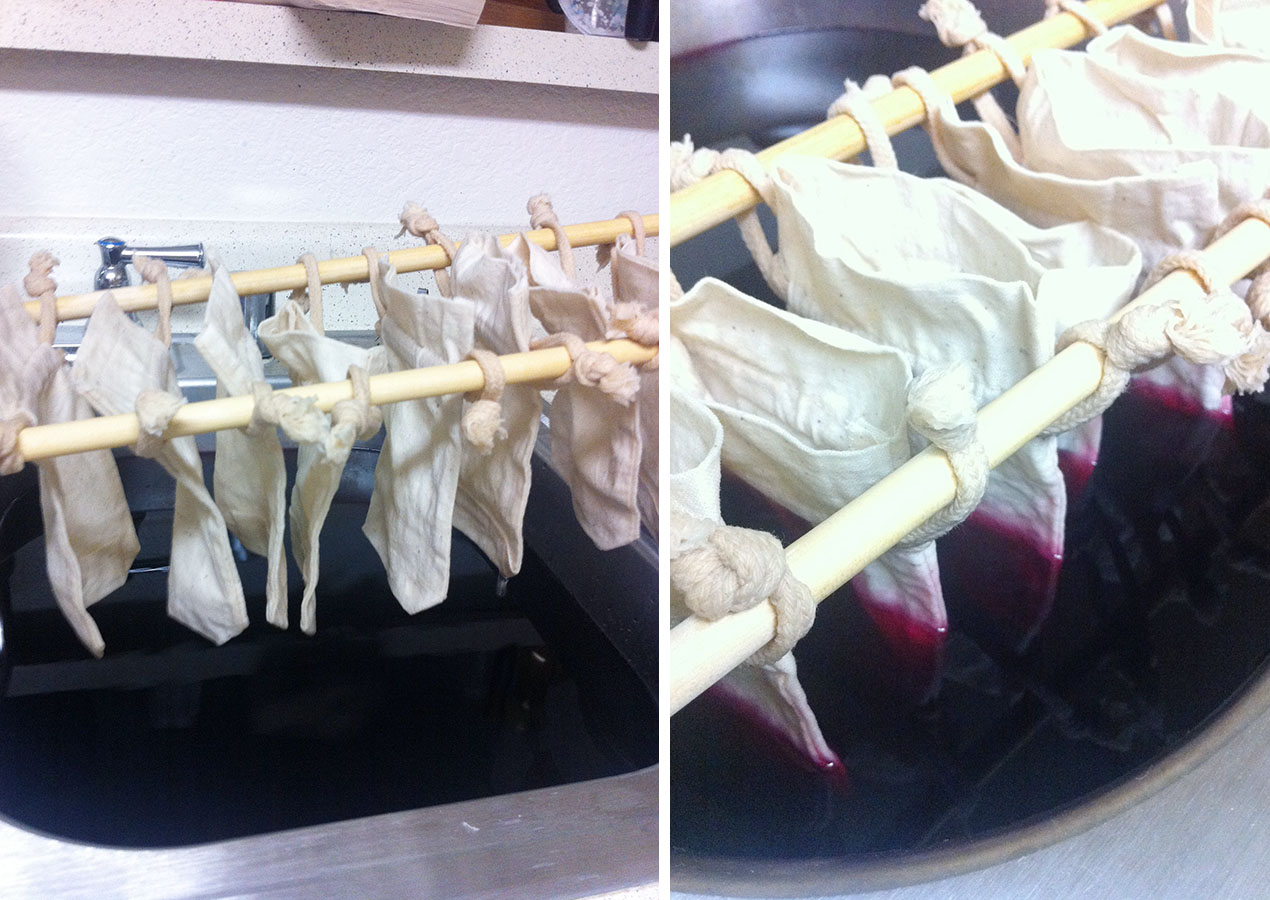
To make the dye bath, we added a whole bottle of RIT Dye to one side of the sink and filled it with hot water. To dye a bunch of bags at a time we strung the wet bags across two dowels and then lowered them into the sink so that they dye covered 75% of the bag. If you don’t have a double sink, you can also use buckets and fill them with hot water.

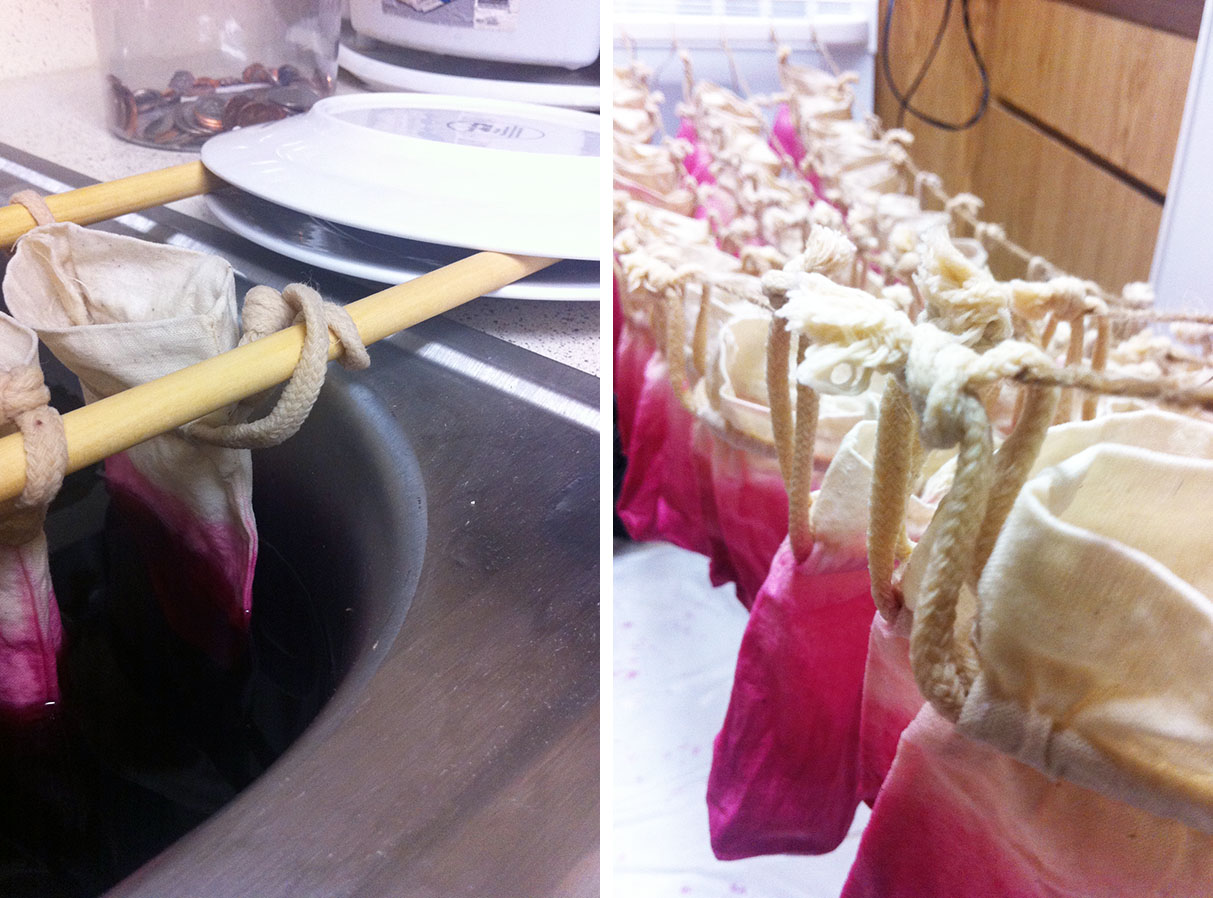
After letting them soak in the dye bath for 4 minutes, we added plates on each side of the dowel to raise the bags.We then let the bottom soak for 4 more minutes to create the gradient or ‘ombre’ effect. We found that putting plates on the dowels also really helped them from moving around. You could use books or any other semi-flat and heavy object for this.
After soaking the bottom for 4 minutes, we carefully lifted the dowel, slid off the bags and strung them onto a drying line we created by tying twine to the stove and a chair. Gotta work with the space you got, right?! Wise tip for ya: don’t forget to put plastic bags on the floor while the bags drip-dry or you’ll end up with a big mess!
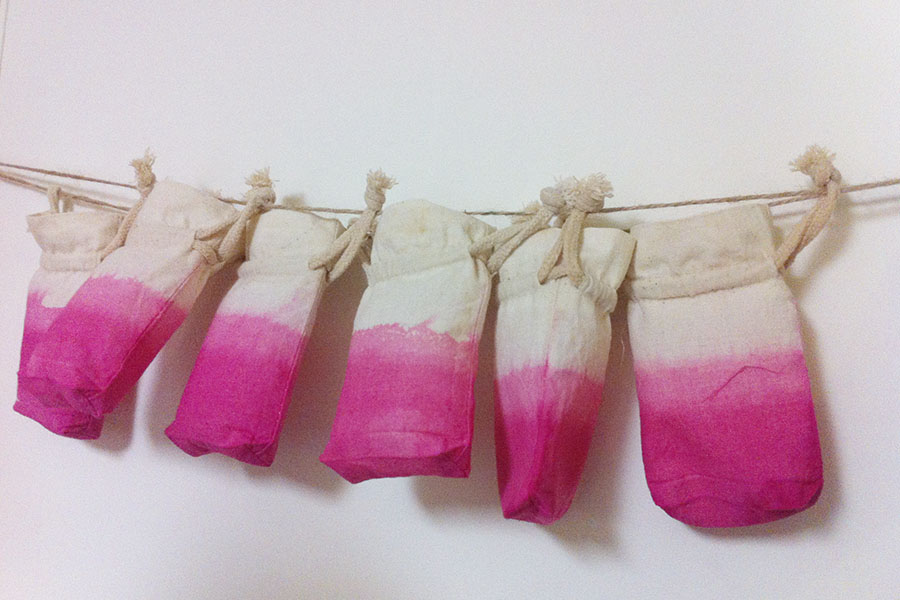
Annnndddd….voila! Pink ombre bags!

We are so happy with them and love how they turned out! We’ve got more up our sleeves for these bad boys (or girls?) — so this isn’t the last you ‘ll see of them.
Stay tuned…